
Ready Your Home for Engineered Wood Floor Installation
Preparing your Home for Engineered Hardwood Floor Installation
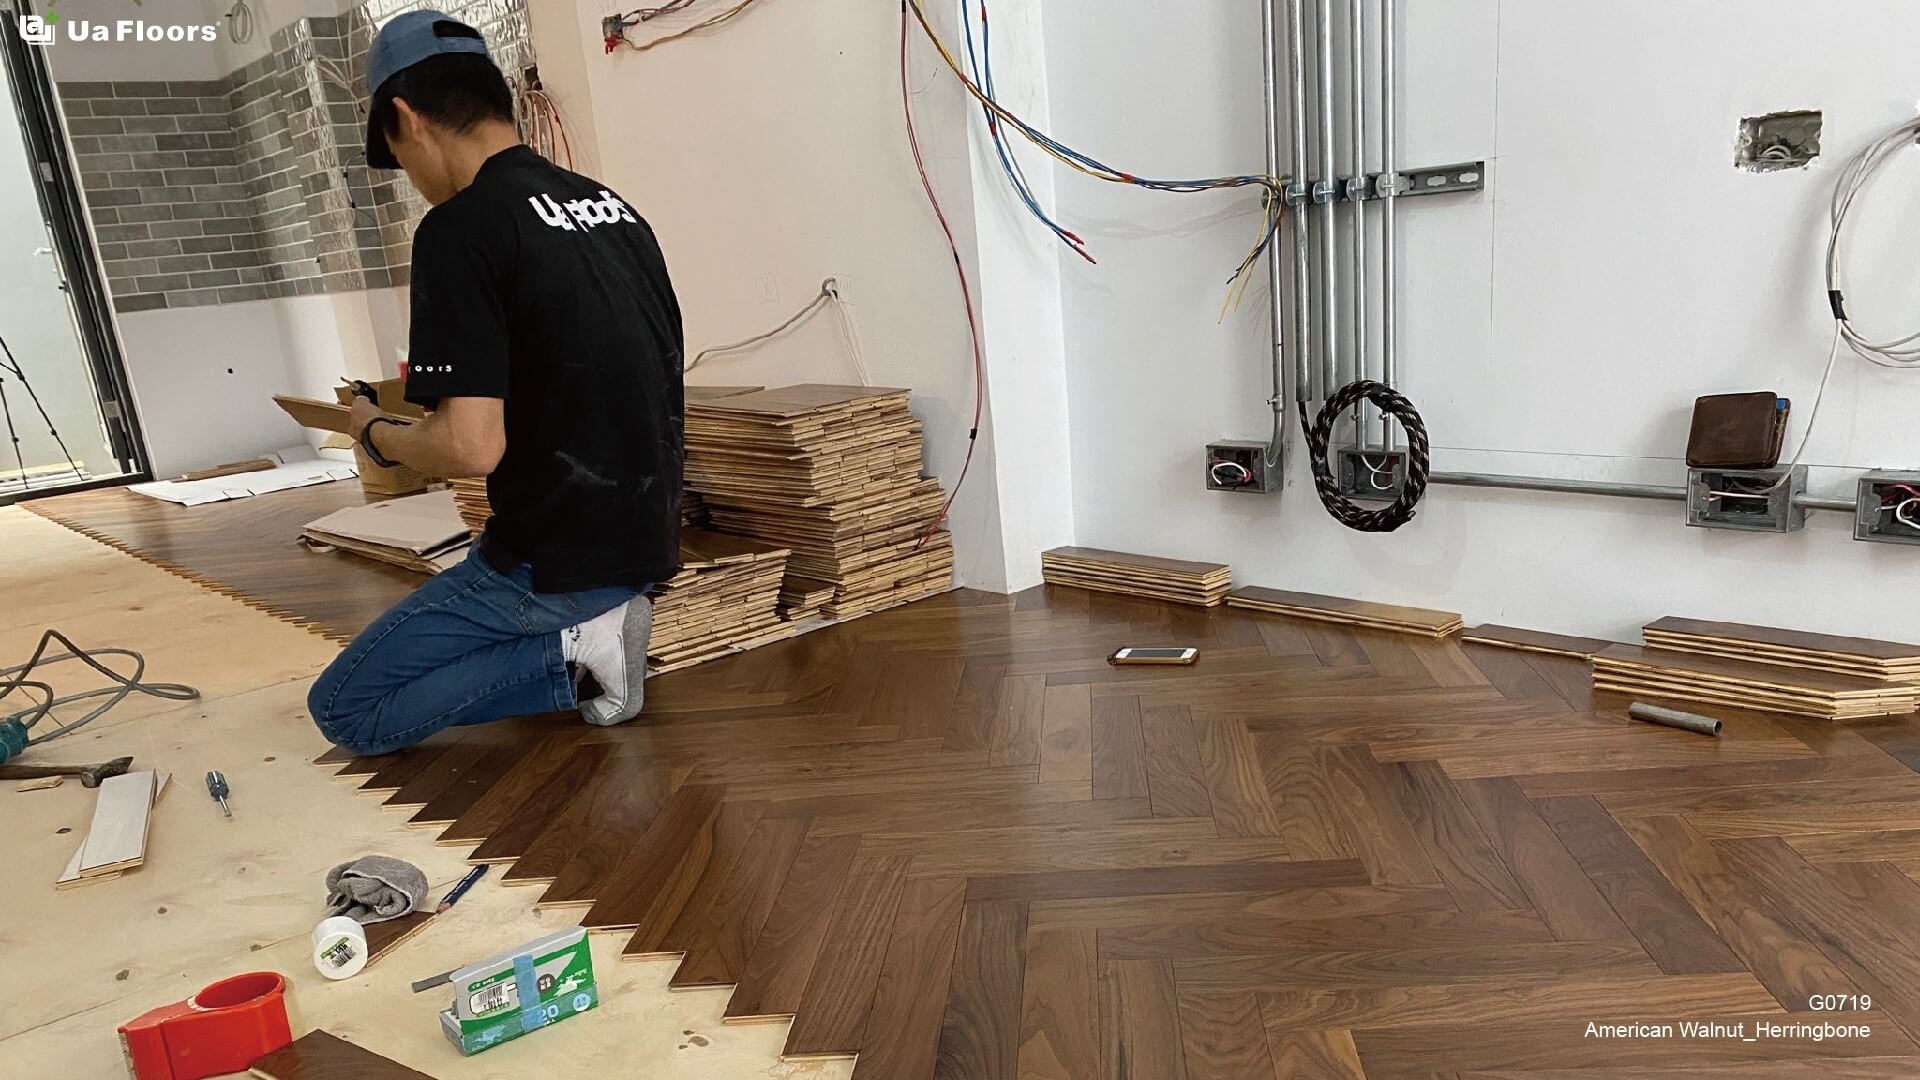
If you’re about to launch an engineered hardwood flooring installation, congratulations! Hardwood flooring adds to the beauty of any home. With proper maintenance and regular care, it will last for decades and improve the value of your home.
To maximize your investment, we always recommend preparing well in advance for the arrival of your hardwood floor installers. There are things you ought to do before they arrive, and some tasks should be handled while the installation is taking place.
The most critical aspects of successful hardwood flooring installation at pre-installation stage are dust control, optimal floor clearance space, and subfloor preparations. The prep work differs according to what subfloor you’re using.
Always inspect your engineered hardwood flooring when it arrives and put it aside until you’re ready to install. When installation begins, test laying out your planks before doing any nailing, stapling or gluing.
Let’s give you a walkthrough on the most important steps for each of these requirements.
Dust control
Your biggest concern before and during installation should be controlling the amount of dust in all installation areas. Dust can settle on hardwood flooring surfaces and cause unnecessary scratches even before it’s begun its useful life.
Here’s what you should do.
- Close off other rooms in your house that aren’t involved in the installation. Close doors, yes, but even better, seal them off with plastic sheeting with safe-to-use painter’s tape.
- Inventory all items in rooms that will get new flooring and draw or take pictures of where everything belongs. Cover your belongings with sheets or protective plastic covering. Label storage boxes and bubble wrap small, fragile items.
- Take out the furniture and prep the rooms by installing plastic sheeting all around the perimeter.
- Seal and cover heating ducts that blow air into your room with more plastic sheeting.
- Most importantly, prepare a separate – preferably outdoors – cutting and prep area for the hardwood flooring you will install. Give your workers plenty of outlets, a safe covered area that will protect electrical gear and your workers from the elements, whether it’s rainy or sunny, as well as good lighting that will help them work in the most optimal conditions.
Optimal Floor Clearance Space
Before your floor installers arrive, make sure you can arrange to give the most amount of floor clearance space to ensure clean, neat hardwood plank installation. This means taking care of doors, molding, or baseboards that touch the floor. Execute this systematically, taking care to mark what goes back where after your floor is installed.
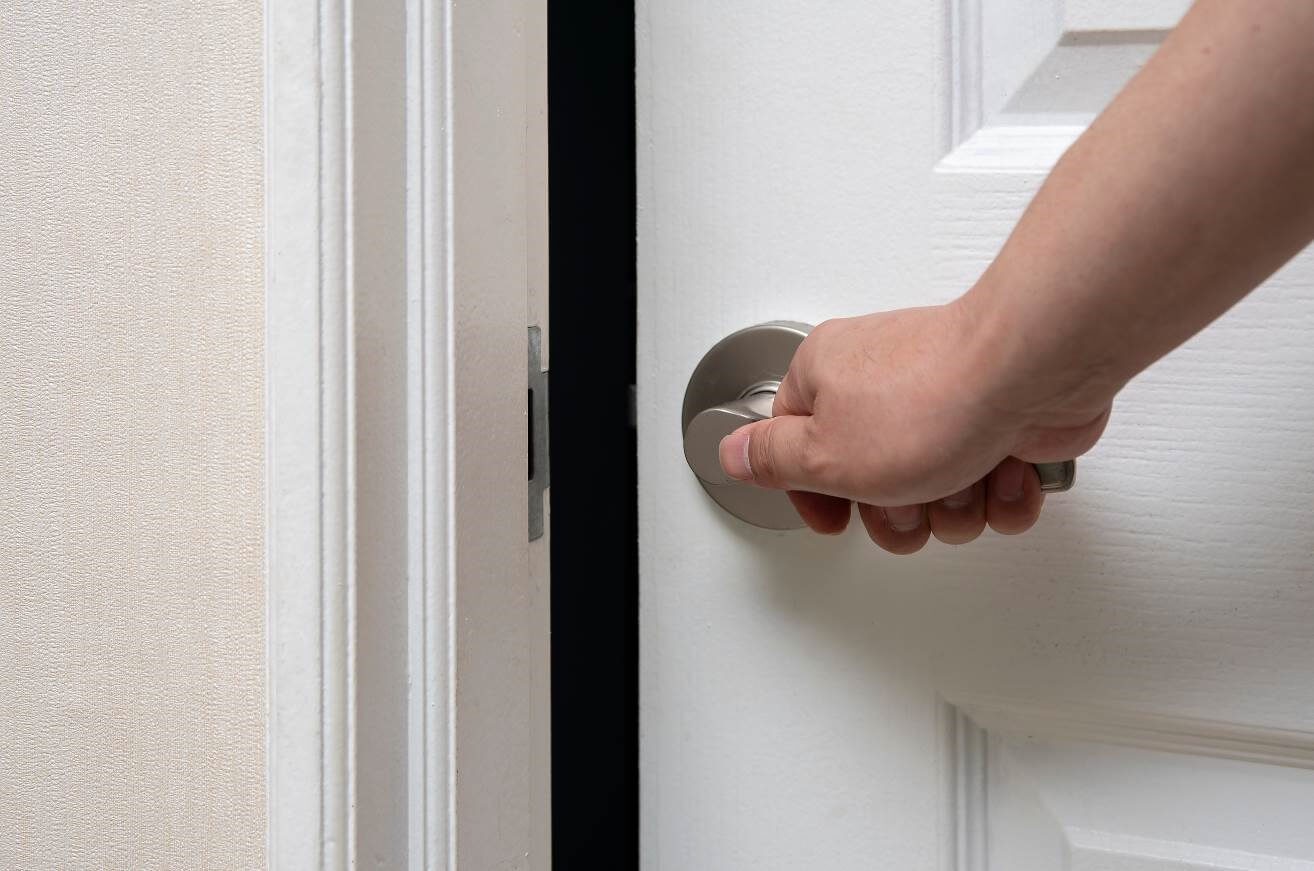
- Doors: Door removal is easy if you’re comfortable using nail and hammer to remove your door from its hinges. Make sure there’s someone there to help you lift and store the door in a safe place. Label each door you remove, and place a protective cloth between each door if you keep them in the same area. Save and label hinge pins in a clear Ziploc bag for easy retrieval.
- Remove moldings or baseboards: This is a bigger undertaking than many think, and if you aren’t experienced enough to do it, get your floor professionals to do it as part of the job. Chances are, a DIY job may damage the molding or baseboard and require you to purchase, varnish, and install a whole new set. In any case, you may see this as a necessary expense and install brand new baseboard or molding anyway.
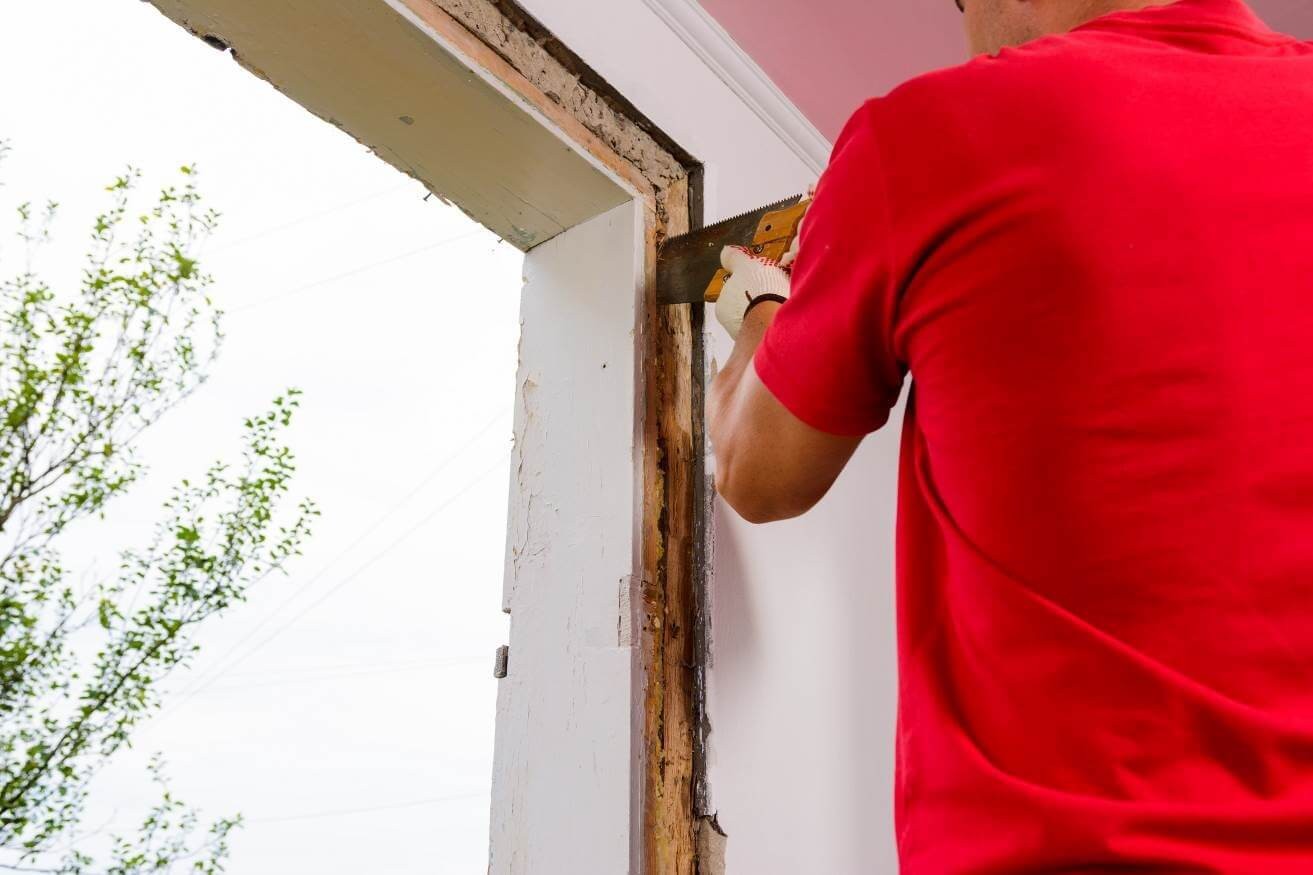
- Door Trims: If you do not remove whole door trims, you will have to saw off the bottom of your door trims to fit your engineered hardwood flooring as close to the wall as possible. Sawing off the bottom is a convenient, cost-effective solution. However, if you’ve budgeted for removal and installation in your remodeling costs, or feel that your door trims need a refresh, you could take them off complete and rework them to match your flooring.
Subfloor preparations
This step is overlooked more than it should be. You can get a flooring team to level your flooring, get rid of dips, cracks, and uneven areas, to ensure the floor is as perfectly level as possible.
Clean, sand, and level your subfloor surfaces – then consider installing a new subfloor layer if you feel it’s warranted, whether plywood, concrete, or vinyl.
Here are some more details.
- Subfloor level tolerance: Maximum subfloor tolerance is 3/16 in for every 10 ft. Use #20 sandgrit paper for high spots and apply leveling compound for low spots. Follow adhesive brand recommendations on subfloor or slab preparation before any gluing.
- Radiant heat flooring: Consult with your dealer or with us before making any installations.
- Prep for wood subfloors:
- Plywood must be dry and secured, with no more than 12 percent moisture content. Secure all boards with by nailing or screwing down every 6 inches along the joist, or your flooring will squeak when stepped upon; leave an 1/8 inch gap around the perimeter.
- Ideal wood subfloor materials we recommend: 3/4 inch CDX grade plywood subfloor or underlayment in 4 x 8 ft sheets, or PS2 rated 3/4 inch subfloor or underlayment, sealed side down, with joist spacing of 19.2 inch in the center or less.
- Prep for concrete:
- All concrete flooring must have been cured at least 60 days and must stay dry all year round afterward. If not, we do not recommend installing our product.
- Test for moisture using a calcium chloride test.
- Install Polyfilm underlayment material of at least 1/4 in or 6mm in thickness before placing your wood flooring.
- Prep for sheet vinyl:
-
- Do not use sheet vinyl thicker than 1/8 inches, or more than one layer of vinyl.
- All sheet vinyl underlayment must be fully clean, glued, and bonded to the floor, or Ua’s product warranty will not apply.
- Sheet vinyl should also not be installed over perimeter glued floors.
- Vinyl sheet tiles cannot used as underlayment.
- Review your choice of adhesive and follow adhesive manufacturer guidelines for floor installation. You may have to abrade vinyl surfaces to optimize your flooring installation.
-
When your flooring material arrives
Let’s walk through a few best practices you should always do when you engineered hardwood floor material finally arrives.
- Inspect the flooring material, ideally together with your installer. First things first: see if you received the flooring you actually ordered. If it’s the wrong color, appears to have defects, is off-grade, or not of the gloss type you ordered, do not install it. Call your dealer and verify what happened.
- Replacements for defective products will be offered under warranty conditions only. Standard industry practice allows for up to 5 percent milling, handling, finish, or grade defects. The warranty applies to material in excess of this 5 percent, in addition to the industry 4-6 percent standard on cutting waste.
- Do not unpack and acclimate your engineered hardwood material – no need. It’s not solid hardwood flooring, and it does not acclimation before being installed. Ua floor products were built to ensure a snug fit, so acclimating them might actually make installation very difficult. After inspecting your product, leave everything in their original boxes until you’re absolutely ready to install. When you are, leave the boxes in the installation area to get them to room temperature.
Installation
Two things are important at this stage: ambient conditions and engineered floor material handling.
Here’s what to do:
- Monitor your floor jobsite areas for humidity and temperature a week beforehand. Humidity must not exceed 40-60 percent, while temperatures should be at around 68°F/16°C in the winter and at 74°F/22°C in the summer.
- Avoid damaging flooring edges. Since our product is milled to high quality standards and very exact sizes, any debris or damage to the tongue and groove might affect installation. Remove any debris and level your boards. If a board is bowed, flatten it out first. Don’t force pieces to fit.
- Undercut or notch out door casings and use one of our engineered floor plans as a height guide for sawing. Leave at least a half-inch allowance for expansion gaps between flooring and walls and vertical objects.
- Start laying down wood flooring parallel to the wall. Installation is usually best starting from an outside wall, so that you can establish a straight working line all the way through. Ideally, it’s also parallel against the longest wall, but get your installers’ advice on this. However: if you’re laying over existing wood flooring, install at a 90° angle against the old flooring.
- When installing and assembling your planks together, use a hammer and tapping block. Tap against the tongue, never against the groove.
- When you reach the end of the other wall, use a pull bar to close end joints.
- If you’re using glue, lay out a few planks before actually doing any gluing. Confirm your layout is working – and adjust accordingly if you see any misalignment by scribe-cutting the first row of planks. Don’t forget the half-inch expansion gap!
- On using glue: Ua Floors recommends using Bostik MVP for all glued installations, but the moisture warranty on the adhesive rests on the adhesive manufacturer, not with our product.
For more information about glue-down, staple-down or nail-down installations, ideal sub-floor materials, and other general installation guidelines, feel free to consult our online guide and confer with your floor installers on the best solution.
After the work is done

After hardwood installation and clearing all installation materials, do not allow anyone to step on your flooring or install any furniture for at least 24 hours. If you used glue for your engineered wood floor installations, follow your adhesive manufacturer’s guidelines on letting the glue fully dry.
After this period, prepare to put back moldings, doors, and baseboards – and do this by protecting your floor! Cover your floor this time with plastic sheeting, if necessary, before doing any nailing, staining or painting retouches.
Lastly, bring out your pictures, inventory list, and plans for rearranging furniture back in your room. Cover sofa and table legs or install furniture pads, use rugs, and don’t drag furniture over your flooring.
Feel free to get more installation tips from us at any time – and always ensure you work with the best hardwood floor suppliers to get quality flooring purchase and after-purchase support.